
Essential Woodworking Tools for Beginners: Complete Guide + Best Budget Tools (2026)
Discover essential woodworking tools for beginners, how to use them safely, and the best budget tools to start your woodworking journey. ...more
Woodworking Blog Posts
February 25, 2026•3 min read

How to Turn Woodworking Into a Profitable Business (Local & Online)
Learn how to turn woodworking into a profitable business using smart product choices and effective local and online marketing. ...more
Woodworking Blog Posts
February 23, 2026•3 min read

How to Save Big on Woodworking Tools & Materials (and Maximize Your Profits)
Smart ways to cut costs on tools and materials to boost woodworking profits — without compromising quality or results. ...more
Woodworking Blog Posts
February 21, 2026•1 min read

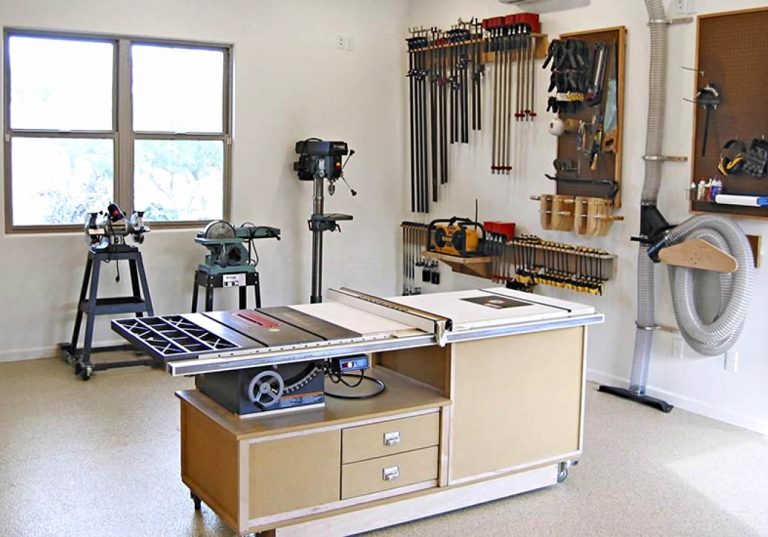
How to setup woodworking workshop for a low budget?
Learn DIY woodworking with step-by-step plans, expert tips, tool reviews, and beginner-friendly project guides. ...more
Woodworking Blog Posts
February 09, 2026•6 min read
Most Frequently Asked Questions and Answers
What’s the easiest woodworking project for a complete beginner?
Start with small, simple builds like a cutting board, shelf, or planter box. They require minimal tools, teach basic measuring and cutting skills, and help you build confidence before moving to more advanced projects.
What basic tools do I need to start woodworking at home?
A beginner-friendly starter set includes a tape measure, speed square, cordless drill, sander, and hand saw or circular saw. These tools cover most small to medium beginner projects.
Which type of wood is best for someone just starting out?
Pine, poplar, and plywood are great beginner woods. They’re affordable, easy to cut, easy to sand, and widely available at most home-improvement stores.
How do I avoid common beginner mistakes?
Follow the “measure twice, cut once” rule, use sharp tools, take your time with layout and marking, and always test cuts on scrap wood first. Small habits make a big difference in quality.
How can I make my cuts more accurate when building furniture?
Use a miter gauge, sled, or straight-edge guide, depending on the tool. Check squareness with a carpenter’s square after every major cut and dry-fit pieces before assembly.
What joinery technique should I learn next after pocket holes?
Try dowel joints, biscuit joinery, or mortise and tenon. These provide stronger structural support and open the door to more advanced furniture-making projects.
How do I get smoother, professional-looking finishes?
Sand through multiple grits (80 → 120 → 180 → 220), remove dust between stages, and use a tack cloth. Apply thin, even coats of finish with proper drying time in between.
What’s the safest way to use a table saw as a beginner?
Always use a riving knife, blade guard, and push sticks. Keep your hands away from the blade, stand slightly to the side of the cutting path, and never cut freehand—always guide the wood with the fence or miter gauge.
Why does my sander leave swirl marks, and how can I prevent them?
Swirl marks happen from using the wrong grit or applying too much pressure. Let the sander float, always keep it moving, use a clean sanding pad, and finish with higher grits (180–220).
Why do my screws keep stripping or sinking too deep?
Use the correct screwdriver bit, set your drill to a lower torque setting, and pre-drill pilot holes when working with hardwoods or dense materials. This ensures clean, controlled fastening.
Subscribe to our newsletter and get woodworking tips, exclusive promotions, step-by-step plans, and video tutorials delivered straight to your inbox.
ABOUT
LEGAL
FOLLOW US
Copyright 2026. DIYWOODMAKER. All Rights Reserved.