An organised workshop is a safe workshop, and a productive one. When every tool has a home, you stop hunting for equipment in the middle of cuts. When lumber is stored properly, it stays straight. When your workflow is planned, you process material efficiently without backtracking. This guide covers the organisation systems that make a real difference, from wall storage to floor layout.
Reader Note: This article contains affiliate links. If you choose to purchase through one, we may earn a small commission at no extra cost to you. We only recommend products we genuinely stand behind. Full disclosure here.
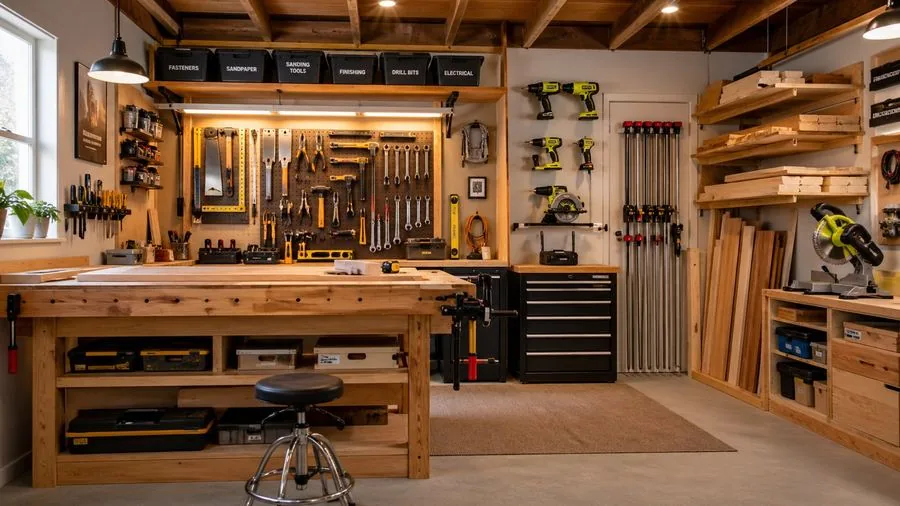
The Zone Approach to Workshop Layout
Think of your workshop as a series of zones: the machining zone (where you process rough lumber with power tools), the assembly zone (where you build and glue projects, needs a flat surface and clamp access), the hand tool zone (your workbench, for fine work and joinery), and the finishing zone (separate from sawdust generation, ideally near a window or extractor). Even in a small space, mentally designating zones prevents the main cause of workshop chaos: using every surface for everything.
The workbench should be central, it's the heart of the workshop. Position it so you can access all four sides when needed, with overhead lighting directly above it.
🔧 Build Your Own Workshop Storage
Tool cabinets, wall mounted holders, and custom storage are among the most useful first workshop projects. Ted's Woodworking has plans for dozens of shop storage solutions.
Browse Storage Plans →Wall Storage: The Single Best Space Multiplier
Vertical wall space is the most valuable real estate in any workshop. A simple French cleat system, strips of plywood cut at 45° angles running horizontally across a wall, lets you hang virtually any tool or storage unit with complete flexibility. You can rearrange in minutes as your needs change. The entire system costs $30,$50 in materials and takes a Saturday afternoon to install.
📐 Install Tip: Install French cleats along the entire length of one workshop wall rather than in a single small section. The usefulness scales dramatically with coverage, a 3 metre cleat wall transforms storage capacity.
Lumber Storage Done Right
Improperly stored lumber warps, twists, and cups, ruining expensive material. Store lumber horizontally, on level supports spaced no more than 600mm apart, with stickers (thin spacer strips) between layers to allow air circulation. Keep it off the floor to avoid moisture absorption from the slab.
Store sheet goods (plywood, MDF) vertically in a dedicated sheet rack, a simple welded steel or timber rack that holds sheets upright. Leaning sheets against a wall causes them to bend significantly over time. A plywood sheet rack costs $30,$50 to build from scrap and saves far more in ruined material.
Hand Tool Storage
Chisels, planes, and marking tools deserve dedicated storage that protects their edges. A simple tool roll for chisels, a dedicated drawer or cabinet for planes (blade down on a rubber mat), and a wall mounted holder for squares and marking gauges. The goal is that every edge tool is protected when not in use, blades dulled by contact with other tools are the most common and most avoidable workshop frustration.
Keep your most used tools within arm's reach of your workbench. Regularly used tools that require hunting slow down your work rhythm. Tools used occasionally can be stored anywhere, the hierarchy of access should match the hierarchy of use frequency.
🗄️ Build Custom Workshop Storage
Plans for wall cabinets, French cleat systems, lumber racks, and complete shop storage, build a workshop that works exactly the way you do.
Browse Storage Plans →