Woodworking plans are the single most valuable tool a beginner can have. A good plan tells you exactly what to cut, how to join it, and in what order, removing the guesswork that causes most early failures. But reading plans isn't always intuitive. This guide teaches you everything you need to confidently work from any plan, whether it's a simple shelf or a complex cabinet.
Reader Note: This article contains affiliate links. If you choose to purchase through one, we may earn a small commission at no extra cost to you. We only recommend products we genuinely stand behind. Full disclosure here.
What a Woodworking Plan Actually Contains
A complete woodworking plan includes several key elements: a cut list (all the pieces you need with their dimensions), assembly drawings (showing how parts fit together), a materials list (lumber types, hardware, finishes), and often step by step instructions. Some plans also include exploded view diagrams that show every joint and fastener position, these are especially helpful for beginners.
Before starting any project, read the entire plan through twice. Understand what every piece is and where it ends up in the finished item. Many beginners cut all pieces first and then discover they misread a dimension, reading ahead prevents 90% of this type of error.
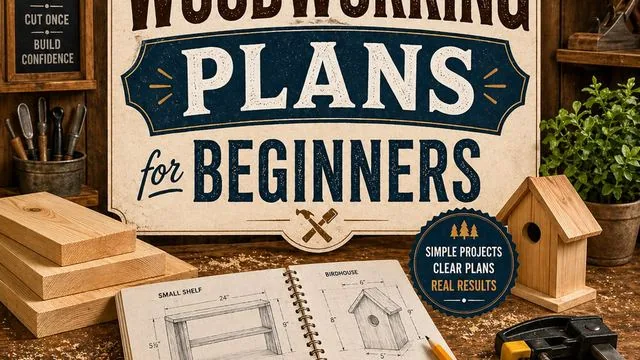
📐 Access 16,000+ Beginner Friendly Plans
Ted's Woodworking includes plans sorted by difficulty level, with full cut lists, assembly diagrams, and material lists for every project.
Browse Beginner Plans →Understanding Dimensions and Scale
Plans use standard lumber dimensions, and these can confuse beginners. A '2×4' piece of lumber is not actually 2 inches by 4 inches. After drying and planing, it measures 1.5 × 3.5 inches. Similarly, a '1×6' is actually 3/4 × 5.5 inches. Plans are written with these actual dimensions in mind, not the nominal ones. When a plan says 'cut a 2×4 to 36 inches', it means cut a piece that is physically 1.5 × 3.5 × 36 inches.
📏 Measure Tip: Always verify your actual lumber dimensions before cutting. Even within a single board, slight variation exists. Measure every piece before marking, never assume.
Reading Joinery Details
Plans specify how pieces connect: butt joints (simple end to face connection), dado joints (a groove cut into one piece for another to sit in), mortise and tenon joints (a rectangular peg fitting into a matching slot), and dovetail joints (interlocking wedge shaped fingers). For beginners, butt joints fastened with screws and wood glue are perfectly adequate for most furniture. As your skills grow, you'll progress to more refined joinery that requires no visible fasteners.
When a plan calls for a joint you haven't done before, look it up before you start cutting. YouTube has excellent tutorials on every woodworking joint. Practise the joint on scrap wood first, this is never wasted time.
Choosing Your First Project
The best first project from plans is something with straight cuts only, no more than 8,10 components, and an obvious function. A simple step stool, a small bookshelf, a wall mounted coat rack, or a basic workbench fit this profile perfectly. Avoid anything with curves, complex joinery, or more than 15 components until you have 3,4 simpler builds under your belt.
Difficulty aside, choose something you actually want. Motivation matters enormously in a skill building craft. A project you care about gets finished; a technically 'ideal' beginner project that bores you gets abandoned.
Common Plan Mistakes and How to Avoid Them
The most common beginner mistakes when working from plans: cutting in the wrong order (always cut large pieces first, then smaller), ignoring the grain direction shown in diagrams (it affects both strength and appearance), and not accounting for saw kerf (the ~1/8 inch removed with each saw cut). When you need 5 pieces at exactly 12 inches, mark and cut each individually rather than making five marks on a long board and cutting them all, kerf accumulates and the last piece ends up short.
🪵 Ready to Start Your First Project?
Ted's Woodworking gives you access to over 16,000 plans across every skill level, from a beginner's first shelf to advanced furniture builds, with full material lists and step by step guides.
Get Your Plans Now →